CLI環境を見直して整えたので、その備忘録。
OSはmacOS。
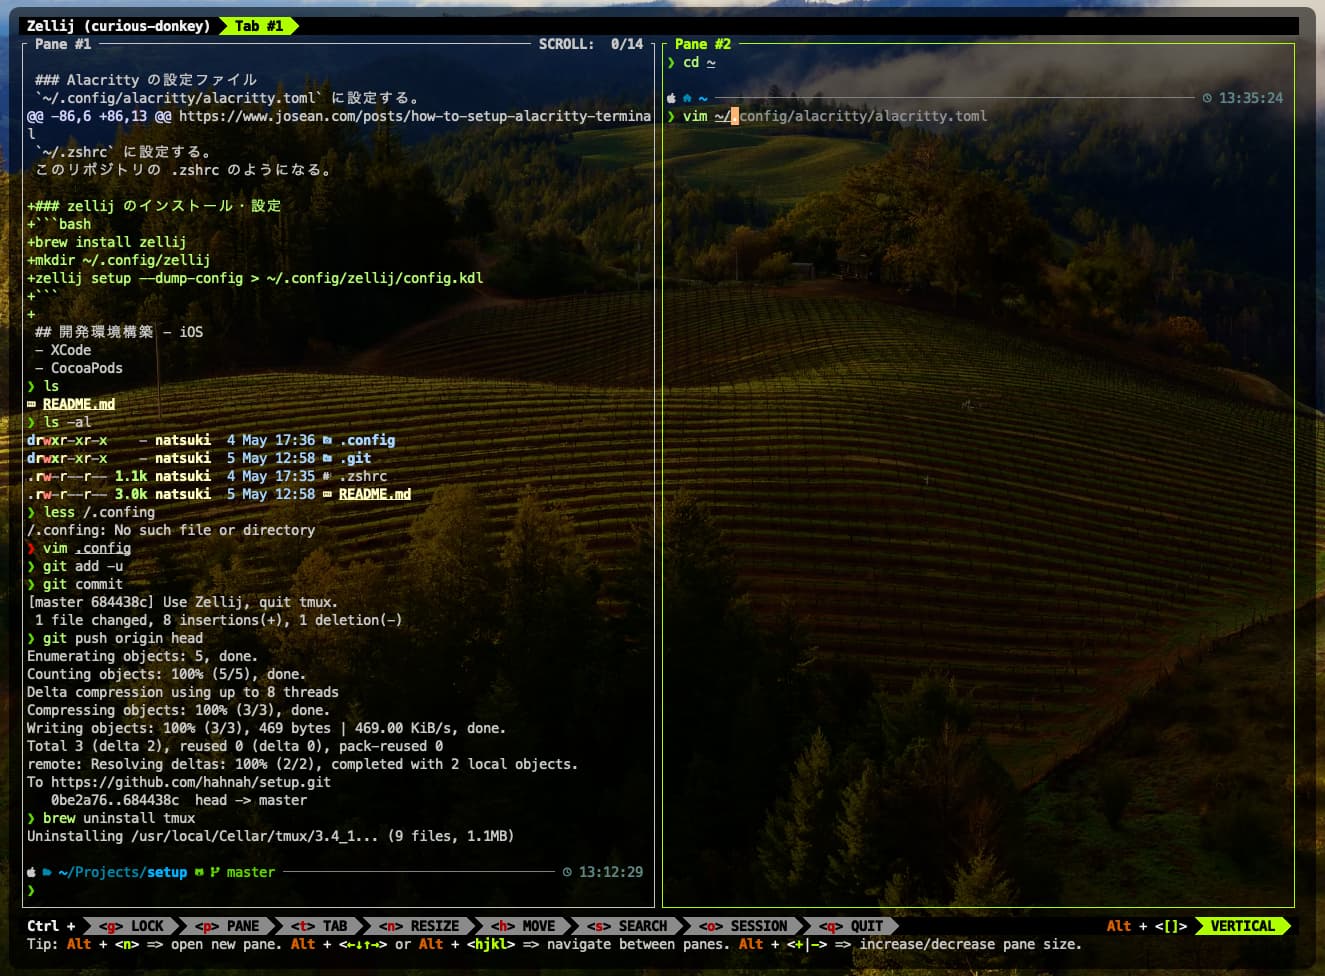
こんな感じになる。
使うツール一覧
- Alacritty: MacでいうTerminalの代替。iTerms2的なやつ。
- alacritty-theme: Alacrittyのカラー設定
- powerlevel10k: CLI上にアイコンが表示されて可愛くなるやつ
- zsh-autosuggestions: zshコマンドのサジェストが出るようになるやつ
- zsh-syntax-highlighting: zshの色付けするやつ
- eza:
lsコマンドの拡張 - zoxide:
cdコマンドの拡張 - Zellij: Terminal Multiprexer。画面分割やssh接続のセッション管理とかできる。
インストール・設定
ほとんどは次のサイトを参考に設定している。
https://www.josean.com/posts/how-to-setup-alacritty-terminal
ただし、Terminal Multiprexer としては、参考サイトにあるtmuxではなく、初心者にやさしいZellijを使うことにした。
Zellijにはコマンドヘルプが常に表示されていて使いやすい。tmuxだと暗記する必要あり。
Alacrittyのセットアップ
brew install --cask alacritty
mkdir -p ~/.config/alacritty
vim ~/.config/alacritty/alacritty.toml
~/.config/alacritty/alacritty.toml ファイルにAlacrittyの設定を書く。
~/.config/alacritty/alacritty.toml の最終型
import = [
    "~/.config/alacritty/themes/themes/pastel_dark.toml"
]

[env]
TERM = "xterm-256color"

[window]
padding.x = 10
padding.y = 10
decorations = "Buttonless"
opacity = 0.6
blur = false
option_as_alt = "Both"

[font]
normal.family = "MesloLGS Nerd Font Mono"
size = 14
ただし上記のうち、
import = [
    "~/.config/alacritty/themes/themes/pastel_dark.toml"
]
の箇所は後で設定する箇所なので初めは消しておかないとエラーになるかも?(別にならないかも?)
フォントファミリーは適宜インストールしたものを設定すること。
[font]
normal.family = "MesloLGS Nerd Font Mono"
自分は参考サイトと同じ Meslo Nerd Font をインストールした。
brew tap homebrew/cask-fonts
brew install font-meslo-lg-nerd-font
powerlevel10k のセットアップ
brew install powerlevel10k
echo "source $(brew --prefix)/share/powerlevel10k/powerlevel10k.zsh-theme" >> ~/.zshrc
source ~/.zshrc
powerlevel10kの設定ウィザードが出るのでそれを見ながら設定する。
あとから設定変えたい時は
p10k configure
とすればOK。
かなり細かく自分好みに、かつ迷うことなく設定できてすごい。
alaciritty-themes のセットアップ
cd ~/.config/alacritty
git clone https://github.com/alacritty/alacritty-theme themes
これで ~/.config/alacritty/themes/themesディレクトリにthemesが入る。
この中から自分は pastel_darkを選んだ。
どのthemeを使うかは *~/.config/alacritty/alacritty.toml に以下の行を書くことで設定する。
import = [
    "~/.config/alacritty/themes/themes/pastel_dark.toml"
]
zshコマンドの履歴を扱いやすくする
一旦参考サイトのをそのまま使う。
~/.zshrcファイルに以下を書き込む。
# history setup
HISTFILE=$HOME/.zhistory
SAVEHIST=1000
HISTSIZE=999
setopt share_history
setopt hist_expire_dups_first
setopt hist_ignore_dups
setopt hist_verify

# completion using arrow keys (based on history)
bindkey '^[[A' history-search-backward
bindkey '^[[B' history-search-forward
zsh-autosuggestions, zsh-syntax-highlighting のセットアップ
brew install zsh-autosuggestions
echo "source $(brew --prefix)/share/zsh-autosuggestions/zsh-autosuggestions.zsh" >> ~/.zshrc

brew install zsh-syntax-highlighting
echo "source $(brew --prefix)/share/zsh-syntax-highlighting/zsh-syntax-highlighting.zsh" >> ~/.zshrc

source ~/.zshrc
eza, zoxide のセットアップ
brew install eza
brew install zoxide
~/.zshrc ファイルに以下を記載する。
# eza
alias ls="eza --icons=always"

# zoxide
eval "$(zoxide init zsh)"
alias cd="z"
記載したら
source ~/.zshrc
Zellijのセットアップ
brew install zellij
mkdir ~/.config/zellij
zellij setup --dump-config > ~/.config/zellij/config.kdl
これでセットアップ完了。
起動方法
Alacrittyのアプリを起動して、
zellij
とコマンドを打つ。
0件のコメント